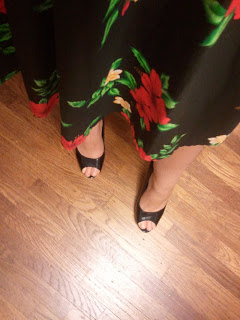
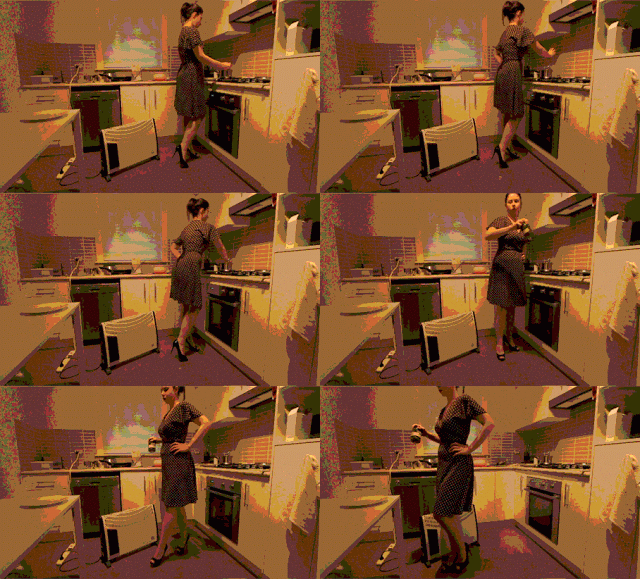
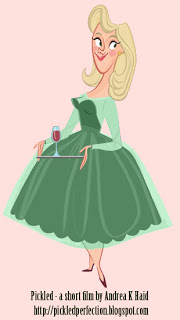
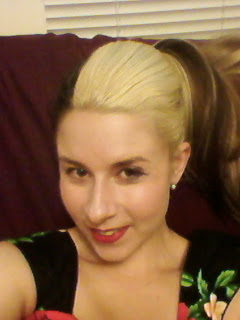
Woooo I just finished my first pass at acting out and filming reference for scene 10! I've been wanting to get this done for a couple weeks and finally was able to find the time. I put on an A-line dress, red lipstick, heels and pearl earrings.
 I felt pretty good about the acting I did... But I still have to download all the footage onto my computer to see how it looks. I'm excited to nit pick my own acting and then improve upon it by doing solid and communicative drawings of my characters.
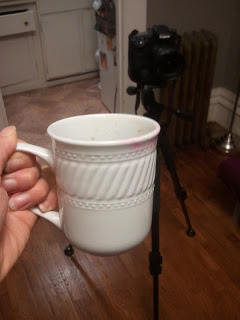
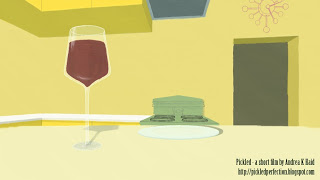
I'm just trying to look and feel like Birdie and Babette! I think it's essential to try to physically be your characters when doing something like this. I had a little bit of rum too to try to loosen up but not enough apparently to feel anything. I got red lipstick on my cup. Babette is tipsy in scene 10 so I figure I should have a drink too. I'm going to have to get myself a wine glass and take some photos of my hand holding it. I do not have any wine glasses these days, not since leaving Vancouver. I used a cup to film my reference since it would have some weight and I would be able to actually drink from it. It had occurred to me to hold something stemlike, (such as a paintbrush) to simulate the poses that would come from holding a wine glass, but then I wouldn't be able to pretend to drink properly and it wouldn't have the necessary weight.
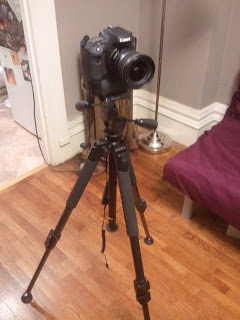
Here's the fancy schmancy camera I got to use; a canon 7D. It's a pretty sweet camera for photos as well as filming video. I used a 10-22mm lens. It's suuuch a wide lens! It totally peeks around corners and sees things the human eye can't from the same position. I think it's going to be pretty interesting to look back at my years of footage and see all the places I lived and the situations I was in at the time of filming. This time I'm in my apartment in San Francisco. It's tight living quarters here! The camera was placed just outside the kitchen so that I would have to space to move around.
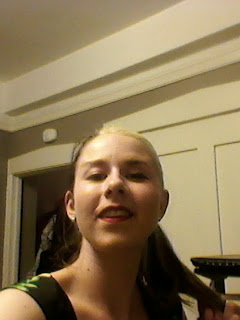
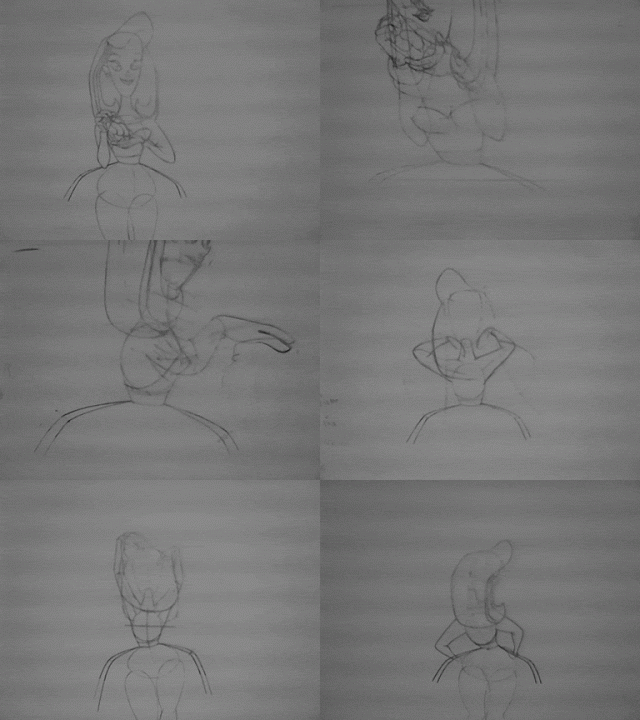
There's one take where I tried to actually drink while filming and got a little too ahead of myself. The rum dribbled down my face so I had to break and reshoot that :P Behold, hair twirling inspired by Babette:
Posted
AuthorAndrea K Haid
Anyone else thinking of going to CTN Animation Expo this year? I've wanted to go every year that it's been held and haven't made it yet. Maybe this is the year to go. It would be sweet to go with other artists!

I've been incredibly busy recently, particularly this past week. I've started an online course to learn the basics of Maya with Animation Mentor. Tomorrow is going to be the start of week three. Every week there are two online Q & A sessions, 2 assignments and 1 video lecture. On Monday night I had to take the hubby to the hospital and we spent the whole night there with him to find out that he's got kidney stones. I napped for 2.5 hours in the wee hours of Tuesday morning and then got up to go to work. I've begun to really feel the pressure to get the animation (a baby dragon; hand drawn) for my day job completed. On Friday I worked on the dragon animation for 12 straight hours. Saturday was spent getting my homework completed. Then on Sunday I was back to working on the dragon! (I can't wait to share that animation!) So my entire week was a blur of working and sleeping and the occasional bit of Fez to relax.
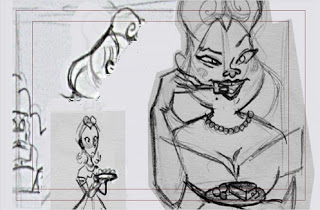
a storyboard panel from shot 10
I have started to think about one of the big animation shots for Pickled. It's scene 10, the shot when Birdie speaks to Babette at the dinner party. Both of them have dialogue in this shot and it's the only dialogue in the whole film. It's pretty foolish (in an amusing way) how much walking there is in my film. Of the shots with animation in them, 17 have walking, 17 do not, and 1 has a character floating in a gravity-less environment.
Here's the scene:
Pickled: Scene 10 from Andrea K Haid on Vimeo.

I've got a really good idea of what I want to do with the shot at this point. The next step will be to film reference of myself acting it out. This is going to help me technically, and it will also give me a chance to crawl into the character's minds a bit more. The toughest part about animation, at least for me, is truly understanding and communicating a character to an audience. I've put the pressure on myself to succeed at this at least somewhat. It's so difficult! Here's the challenge: I have to think about what the two characters in the shot are thinking and feeling, and how that manifests itself in their body language and movements, as well as the messages that they are consciously and unconsciously communicating to each other through their body language, and make sure it's all clear for the audience to comprehend as well.

I shot a bunch of reference for the 2 shots that I've already animated. I put on an outfit similar to the character in the shot and acted it all out like 50 times. That kind of thing is so thrilling to me. I want to make sure I really get into the skin of my characters because... it is not easy at all and I want to look back on my work and know that I succeeded at least a tiny bit. Here's an example of embarassing footage of this:
That there is the kitchen I had when I lived in Australia!! Oh how I miss it. There's a dishwasher.... and a dining table... a microwave... organised utensils in a drawer... cake decorating supplies... such finery I no longer possess.

And this is why I will be alone when I film the reference for my next shot. It's a lot easier to act silly and natural for me when no one is watching.
I just wanted to showcase a few paintings and character designs and such as I haven't done so before.
Here's Birdie; a 1950's lady who was raised to think that being a great cook is the best way to score a hubby!
Designed by the fabulous Deanna Marsigliese who now designs for Pixar.
This is a hand animated shot of Birdie
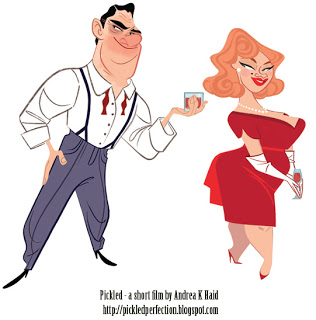
Here is the lucious Babette and her whiskey loving hubby
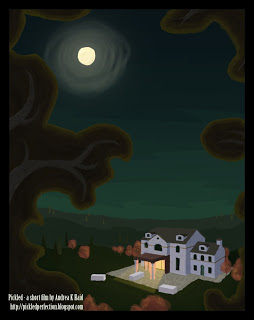
The outdoor dinner party scene
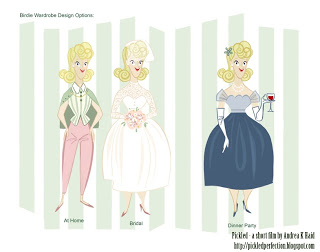
Some costume designs for Birdie
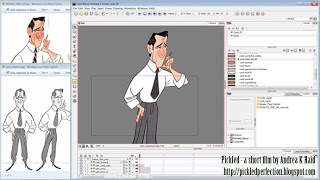
Here's a screen cap of the finished Cash rig done in Toonboom and my reference files
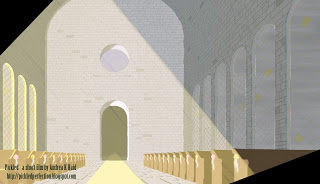
The cathedral
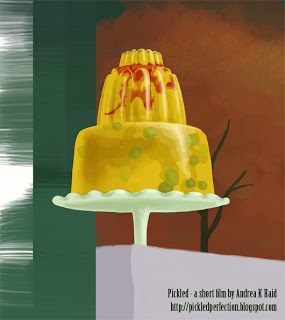
A wonderful jello mold, with olives! Mmm.
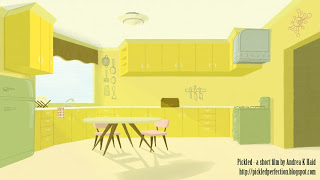
The kitchen
The dinner table
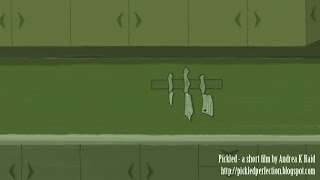
Knives in the kitchen at night
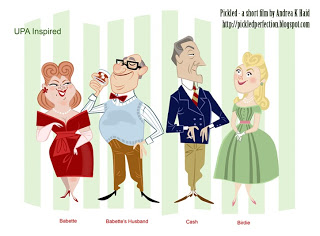
An early pass on character designs, very UPA inspired!
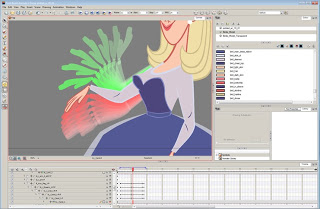
Ok, I've got to post about this. I've just figured out a solution to a horrible problem that I've always had in Toonboom. It's got to do with the onion skinning feature. Here it is; in Toonboom the onion skinning feature is frustrating as hell since the previous and next frames look like green or red fills when you have a fully painted rig. This can be nearly useless when you need functioning onion skin. Behold:
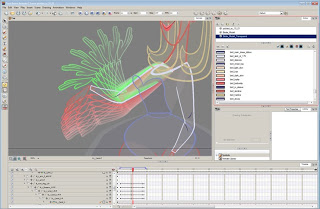
Ok, it's not SO bad for something as simple as the above example, but when you want to make sure your arcs are working between poses; you're effed. Also, when you want to set pivot points on layers that are behind the top layers, you can forget about that without the run around of hiding/locking top layers after you hunt for them in the timeline. Now... look what I've done here:
Say whaaaaat, right?? It's witchcraft. You can now see through the painted model just as you can with the onion skinning feature in Flash.

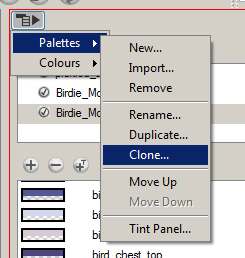
So all I've done here, it's really easy I promise, is make a clone palette of the one currently in place. To do this, select the palette to be cloned in the colour view. Then in the colour view menu select Palettes > Clone.
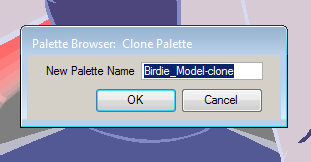
Then name your new cloned palette. Make it clear and easy to remember.
So now you just need to take the transparency way down on the fills in the new palette. I made my fills %25.

*This is also a perfect way to create new palettes for your painted character rig, such as a night time palette!

*If there is more than one palette loaded, the system will use the one highest in the palette list.

Magical!
Posted
AuthorAndrea K Haid
I had a recent question over Twitter from John Lechner about workflow in Toonboom. He was interested in learning about my workflow in Toonboom and curious if I use the XSheet. I actually have never used the XSheet (also known as the Exposure Sheet or Dope Sheet) in Toonboom. This is because it hasn't yet been necessary for the work I've done in Toonboom. For someone sitting down to do hand drawn animation on paper, a representation of what is happening over time in front of them is very valuable. But when using Flash or Toonboom, the animatic/leica, the soundtrack and the timeline serve the time tracking needs of a digital animator. Actually, these days when I animate on paper I will have some kind of animatic and/or xsheet system going in Flash and/or Premiere and After Effects. I put my animatics together digitally so that I can watch and respond to their timing. Ultimately I will be "going digital" by scanning all my drawings and importing them into some editing software anyway so the digital exposure sheet system works for me.

*Don't forget to check out my previous Toonboom tips; How to Animate Pivot Points, Symbols vs Drawings vs Pegs, and Symbols in Flash vs Drawings in Toonboom.

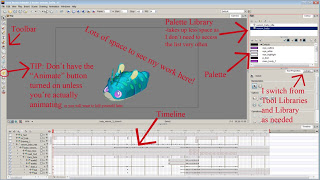
Here is how I set up my copy of Toonboom for animation:
I always have the palette list, palette and Libraries open. I switch from the Tool Library and Library frequently as needed. The palette portion doesn't take up a heck of a lot of space. I like to have lots of breathing room on the stage to animate. I've had the luxury of dual monitors in the past and in that case would let the timeline have a whole monitor dedicated to it. Now that I work with fussy Cintiqs that won't let dual monitors function I keep everything on one monitor. I'll make the timeline take up more or less space depending on what I need to see at a given moment.

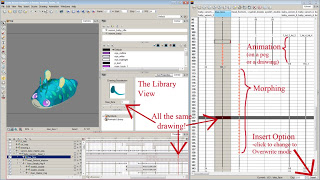
If I was editing the Xsheet, here is the single monitor layout I would use:
I think that Toonboom implemented the Xsheet for hand drawn animators moving into using Toonboom to let them feel at home. There are a few cool tricks that you can get going with this digital Xsheet however and I have known animators that find it a helpful visual representation of their scene and a way to organize their drawings. I have a feeling that the Xsheet would come in handy in a studio environment when directors want to leave notes or the organization of scenes is critical to a smooth studio function.

The Timeline vs the Xsheet:
The timeline is a horizontal representation of your scene over time. There are layers down the left and frame numbers across. The playhead can be moved across the timeline to adjust what frame you are at.

The Exposure Sheet is quite similar! It's a vertical column. There is a vertical column to coincide with each layer and they will share the same names. You can still use shortcuts to go forward and backward as well as to the next and previous drawing, just as you can in the timeline.


Timeline/Xsheet Shortcuts: (Keep in mind that I'm using the Flash shortcuts set!)
go forward a frame: . (the period key!) *TIP* I tend to think of this key as the > key since it looks like a forward pointing arrow! This just lets me remember the shortcut super easily. However to actually use the > key you would need to press shift. Don't do that as you just need the period.)
go back a frame: ,
go to next drawing: G
go to previous drawing: F
go to first frame: home (this is < in Toonboom shortcuts)
go to last frame: end (this is > in Toonboom shortcuts)

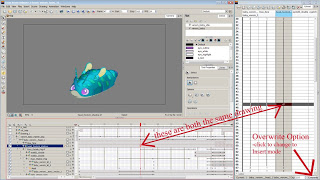
Anything you do in time line will show in xsheet! Here you can see a visual example of how a drawing in the timeline, library and xsheet are all the same numbered drawing. And the morphing on the timeline is visible in red on the xsheet:

So.

Why use the Xsheet?

I would say that it's up to you whether you do or not. It's probably going to come in handy if you are handing scenes to someone else and want to leave notes/timing suggestions, or if it makes you feel more organised or comfortable with your scene.

When you are using the xsheet, you can actually SEE what's in a frame. By default frames are numbered, for example frame one is drawing one. The second drawing in a drawing layer will be 2. This can actually get confusing. You'll see how Toonboom numbers drawings as you get using it and creating drawings.

There is something in the time line called Data View.
You can turn this option on and off by hitting the double arrow button on the top right of the box that has the layer information.

You can use this Data View to change which drawing is exposed on the timeline the same way that you can in the xsheet. Just click the current frame number and type in the drawing number you want to show, or hover over the current frame number and click + drag right or left to scroll through the library.

Back to the Xsheet!
In the xsheet, you can select drawings. There are 3 areas that you can adjust in these cels. On the left side of a given cel, if you hover you cursor, is a plus sign. On the right side, hover and you will see and up/down arrow. Use the center of a cel to select it. You can double click the center of a cel to enter a new frame number, just as I mentioned you can do in the Data View section of the timeline. What do these functions do? On a drawing, on the left side, click and drag a drawing to move it. On the right side, click and drag to extend it's exposure. You should really give this a try to see the difference for yourself. By default if you drag a frame it will overwrite ones that is is dropped on.

You can easily swap drawings in the xsheet.
To do this just double click the center of a cel and type i the number of the drawing you want to be there. The way I do this without the xsheet is I select the frame on the timeline where I want a different frame to be, then I scroll through the library to find the drawing I want. This can be tricky and time consuming when there are a lot of drawings to scroll through. I tend to appreciate the visual representation. If you are working on say, a TV show and you are using a character with multiple parts such as a selection of hands or mouths, memorising the drawing number of those parts and then typing in the drawing number on the xsheet or data view can seriously be a timesaver! So I can totally understand that being a benefit.

When you switch a frame in the xsheet, it only switches that frame! This is kinda crazy since it's a different story in the timeline. In the timeline if you switch a drawing it will remain exposed until the next drawing. You could totally use all these tools to your advantage.

When you rename a drawing it will be renamed in the file system. If you have drawing "4" and rename it to "hand", then all the previously named "4"s will now be called "hand"! Nifty stuff. Keep in mind that if you do that, the 4th drawing in the library will now be empty. This could be super useful for doing lipsync.

Now pay attention. There is the ability in the columns of the xsheet to use different types of columns.
Now if you have Toonboom Pro (I don't), then you can add a column type called annotations. This feature is possibly the biggest argument for the xsheet. But if you don't have Pro you can't use it. What annotations does is give you a blank column that you can actually DRAW in! You can doodle reference images, write notes about timing and lipsync and even erase this and leave typed notes for the animator or artist you pass your scene to. Pretty sweet stuff. You can move these frames too!

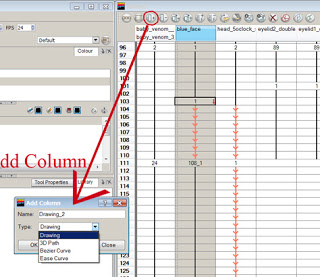
To add a columns, hit the third button over from the left that is a tall rectangle with a plus sign:
In Toonboom Animate the 4 column types I can add are drawing, 3D path, Bezier Curve and Ease Curve.

Honestly, I'm just going to have to give using the xsheet a try and see if it benefits my work flow! You should do the same. I would say that it's the most beneficial to teams of artists in a studio that have to share files or communicate to each other within a scene and want a very sophisticated and organised method to do so. Gotta luv Toonboom for it's awesome professionalism.

Check out some videos demonstrating this information if you like:

Toonboom Tip #25: XSheet Basics (Part 1)

Toonboom Tip #25: XSheet Basics (Part 2)
Even though I have a backlog of blog post ideas, I'm going to take a break from my bi-weekly blogging schedule for a little while. For the rest of the summer. I've picked 3 days that I will blog through the summer; these days fall approximately one month apart and they are Tuesdays.

I constantly shift my priorities around and right now blogging is going down on the list. I've got a lot on my plate! I can't wait to whittle down the mountain of work I've got to do and get back to animating on my film.

The 3 Tuesdays I plan to blog over the remainder of the summer:

July 23
August 20
Sept 17

September 22 is the start of autumn!
Posted
AuthorAndrea K Haid
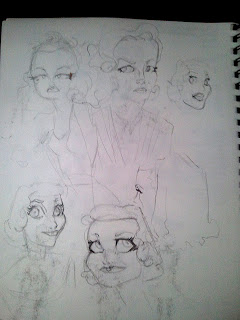
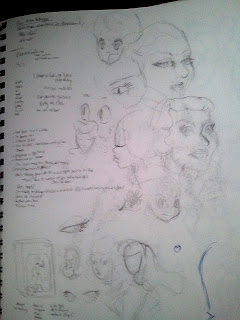
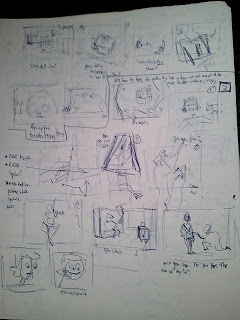
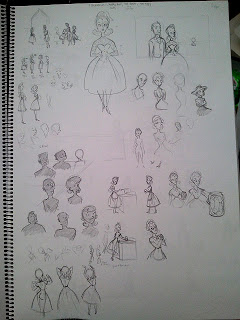
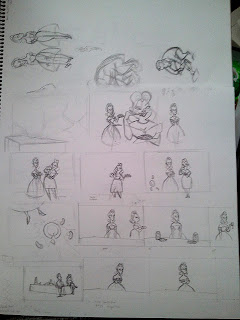
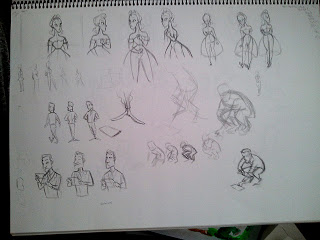
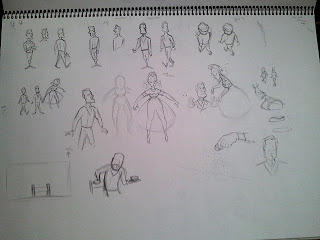
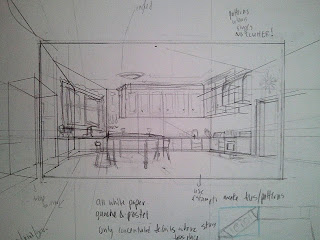
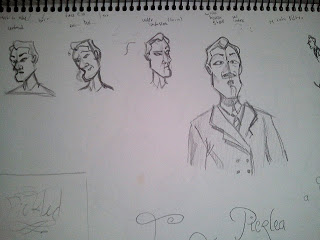
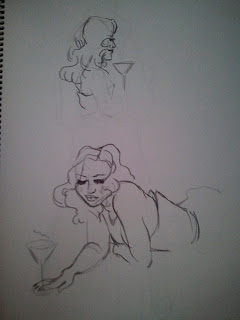
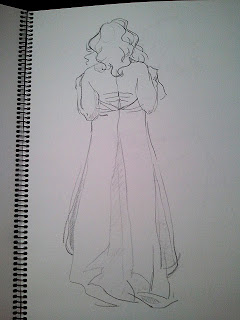
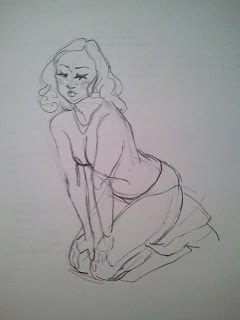
I was cleaning up my apartment and found a couple old sketchbooks. One is maybe 5 years old, and another one about 2 years. I found scribbles and sketches of Pickled before it really took shape. I found storyboards, storyboard revisions, layout roughs and even old character design ideas. And a few life drawings. I'm glad I hung onto those sketchbooks. Take a look at some of my rough stuff:
ancient character design ideas

ancient character design ideas

ancient character design ideas

This are the oldest storyboards that found for Pickled.
This is waaay back in summer of 2008 when I had the idea that maybe Birdie could be a mail order bride robot.

Pickled storyboard revision drawings

Pickled storyboard revision drawings

Pickled storyboard revision drawings

Pickled storyboard revision drawings

a rough kitchen layout drawing

Pickled storyboard revision drawings

Dr. Sketchy's Toronto

Dr. Sketchy's Toronto

Dr. Sketchy's Toronto

Posted
AuthorAndrea K Haid