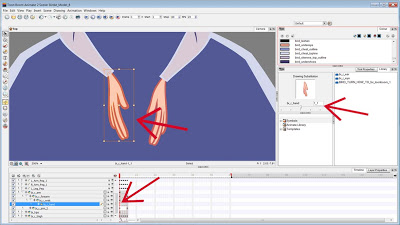
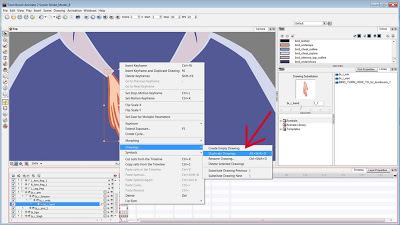
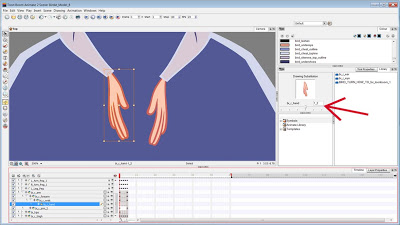
Admittedly, now that I've been using Toonboom to build a few rigs and animate some characters, I realise that the information I'm about to write about here is just about the first thing I should have learned about. I was animating a character and was having difficulty understanding what was going on with the pegs. The first time I started using Toonboom in 2008 I was told to always animate on the peg layers, not the drawings. That was great advice, but it's not like it's got to be that way.
* Don't forget to check out my previous Toonboom Tips on Symbols in Flash vs. Drawings in Toonboom and Symbols vs. Drawings vs. Pegs.
There are multiple ways of doing pivots and multiple layers of pivots:
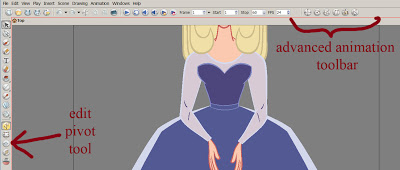
You may use the pivot tool to set a pivot point on drawing layers. The reason this is useful: When you have a character rig/build and there is for example a hand layer with multiple hands, the pivot point will be correct on all the hands if they overlap in the right spot. But when you swap to a different view, (e.g. from front view to 3/4 front view), and the position of the hand changes, the pivot will be correct for those hands since their pivot is also on the drawing layer. (right?) So, the it's most important to set a pivot on the drawing layer is when you have multiple views on the same timeline.
* Sometimes as an alternative, some people will dodge needing to set drawing level pivots by separating the various views into their own hierarchies. Meaning separate templates for front, 3/4 front, side, 3/4 back, back views.
So, You want to Alter a Single Layer that has a Child that you don't want to Alter?
Now here is some important and valuable information right here. If you set up a basic arm hierarchy, for example, with a hand parented to a forearm and that forearm parented to the upper arm, and the pivots are set properly on each drawing with the pivot tool, you will easily be able to animate the position (e.g. rotation) of each of these drawings, but what happens when you want to skew, squash or stretch a single layer that has a child that you don't want to squash? For example, squashing the forearm but not the hand? You will want to be able to manipulate each piece of the hierarchy separately and individually. This is when pegs come in handy.
So you will want to take those 3 arm elements out of it's hierarchy, then select all 3 drawings and hit on the "add peg" button to add pegs to each drawing layer. So now each drawing layer is outside of a hierarchy. To put it back into a hierarchy, you will want to drag the PEG of the hand to the peg of the forearm, and the peg of the forearm to the peg of the upper arm. Now you have the ability to select the pegs OR the drawing layers and you may squash/stretch/skew on the drawing layer, but animate the position (e.g. rotation) of each element in a hierarchical system via the pegs!
Fixing the Z Depth:
You will have to make sure the Z depth is set properly for each layer. Elements will most likely not be ordered properly at this point. I am using Toonboom Animate so to place an element further away on the Z depth, (for example nudge the hand under the forearm), I'll select that drawing layer and then hit ALT + up. (Conversely, to nudge a layer up, I would hit ATL + down. I basically just remember to hit up when I want down and down when I want up.) AND MAKE SURE THAT THE ANIMATE BUTTON IS OFF WHEN YOU ALTER THE Z DEPTH! This is pretty important. You must make sure your animate button is ON when you're animating and OFF when you're not, otherwise you are going to hate yourself later. (If you're using Animate Pro, you will just need to reorder the connections (compositing order) in the network, very visual and user friendly.)
Making sure the Pivots are Correct Across the Timeline of your Character Build:
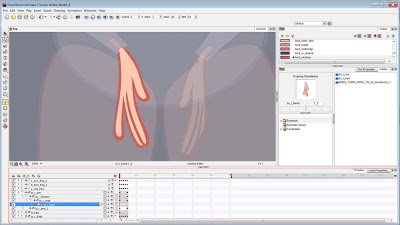
You'll notice now that when you select any of the peg layers, the pivot is in the center of your scene and not where you set them on the drawing layer. This is because pegs have their own pivot points. This is where I started my research on setting pivots as I couldn't understand how to edit the pivot on a peg layer. It's not the same as setting a pivot on the drawing layer, (where by you would simply use the edit pivot tool).
So now you have a few options:
1.) leave the peg pivot point where it is and just deal with that
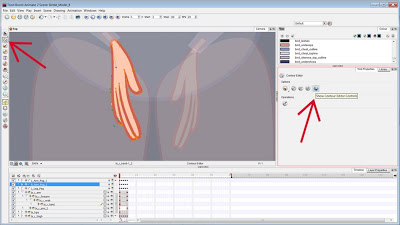
2.) use the rotate tool to set the pivot on a peg layer
3.) use the drawing layers pivot and promote them up to the peg.
Elaboration:
2.) The issue with this method is that if you change the pivot on say, the hand, and you are creating a character turn around, the peg pivot will be changed for all view and it won't be in the right spot. So editing the pivot this way is nice if you don't have multiple positions/views for elements on the same peg. Editing pivots in this manner is going to work if you have created a character with separate templates/hierarchies for each view.
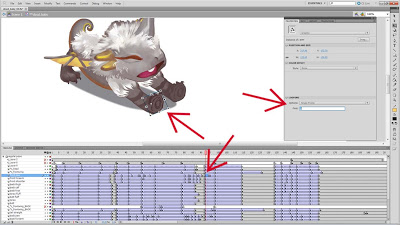
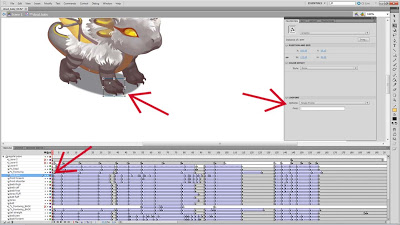
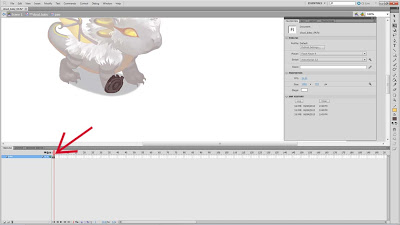
3.) Now if you do want to do multiple views in one timeline, promoting the drawing layer pivot to the peg layer is the way to go. You can open up the layer properties of a drawing layer (or for Pro users click on that layers yellow box on it's nodule in the network) and on the middle drawing tab there is the option for embedded pivots. To apply the drawing layer pivot to the peg of that layer, and select the option to apply the drawing layer pivot to the parent peg. See this video for instructions on doing this and watch from 2:57 to 4:36.
I am going to find a solution for myself in Animate, as I do want to have character rigs with turnarounds that share a timeline. I believe they are more accessible for the animator. When I look back at the first character rig I built, which was of Birdie, I can see that it's sloppy and that it should be fixed up before I start animating with it.
A tip! When you're editing the pivot on the peg layer, make sure that in the layer properties of the peg that the pivot values (bottom two numbers) are set to 0 and 0. Otherwise, when you promote pivots to a peg, the pivot values of a drawing will be added to those numbers. And that will cause your pivot to be offset.
If you want a video and audio demonstration of this information, check out these two videos:
Toonboom Tip of the Week - Pivot Points in Animate, Animate Pro and Harmony - part 1
Toonboom Tip of the Week - Pivot Points in Animate, Animate Pro and Harmony - part 2
